
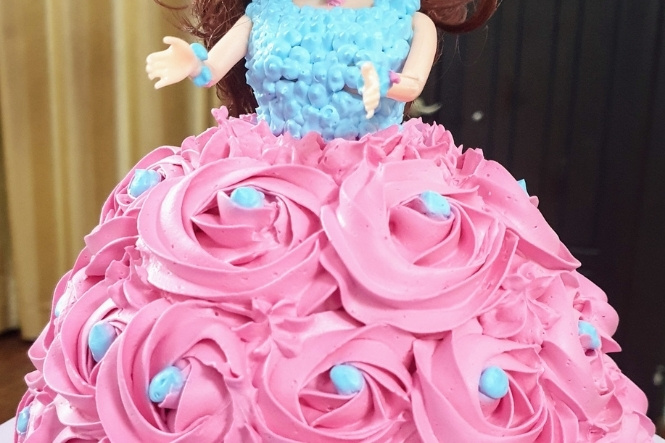
In this short video, Kim Patino of Coffee and Cakes in Frodsham demonstrates how to decorate a child’s Barbie princess cake.
Video Transcript
Hi I’m Kim Patino with Coffee and Cakes in Frodsham and on behalf of CakeBaker.co.uk I am going to demonstrate how to make a princess cake for a little girl.
First of all you need basic sponge cakes and for this we’ve baked a 7 inch round and a pudding basin shape.
You need to split the cakes and put jam and cream in. So you literally cut through the bottom tier, the next one has a gap anyway, then you cut through the second one and start to shape them.
You then need to make a hole in the bottom right through the cake to sit the doll through. To make a hole I just use a standard small rolling pin, the one I use for rolling out flour paste and for making the flowers and you start to make a hole through the top.
You then put jam in between each layer and that then holds the whole thing together. So they’re all securely together, it’s quite straight on the top, you’ve levelled it all up.
You then start to put some butter cream on, carry on putting the butter cream on, all the way round. If it gets difficult to work with, a drop of hot water, keep dipping the pallet knife in, it just makes it slightly easier.
You need a flat front bit, so that bit you need to sort of work at a diagonal line and just cut through the front and just discard that so you’ve then got a flat front.
This is your standard sugar paste, I’m actually using ivory for this, it doesn’t matter if you use ivory or white or you can colour it, which ever one you want. You’re always better to roll it bigger than the the cake because you need to have a bit to cut off. And again don’t worry about it being lumpy, as long as you cover it, your excess will be cut off. So you literally just hold it together, cut down the sides, that then just folds over. Same again on the other side.
Start cutting these out. To cover the whole doll you need lots of these, you’re probably talking about fifty circles in total. Then you cut out the middles with the flat side, you don’t need the frilly bit in the middle, and this all rolls out again. You cut each of those into half. Each half then is enough for one frill.
Start with a cocktail stick, I’m right handed and so obviously I’m using my right hand, with my left hand holding it, you need to be at the edge of the table just so you can be completely flat and you literally just roll it. Hold it with your right hand and roll just with your index finger.
I use clear alcohol to stick it on, it is better than water as water will leave a mark on the icing but alcohol evaporates. So if you use just a tiny bit of clear alcohol and a paint brush, (you need to have a good one that doesn’t shed hairs though, once you’ve found yourself a good paint brush stick to it) start to wet it a couple of inches above the bottom like that.
Take your first frill, turn it over, just wet both ends a little bit and then fold the ends over so you just neaten the edges and stick it on. And you just keep on working all the way round, stick it together underneath there. You work all the way round the bottom layer and then you start building up and you just do layer, after layer, after layer.
That’s how it will look when it’s finished. Again the flat front there, with a little blossom, you can put flowers on the front to finish it off. That’s completely set now, so that’s all hardened up, but you can see how the layers go, you just keep on putting layer on layer on layer until it builds up to the top.
